
As part of my Make Good series, I’ll be featuring craft businesses that support their community. Local independent fabric shops often donate to charity, assist with community projects, and provide space for group meetings. This type of grassroots philanthropy that starts in our knitting circles and quilting bees can have a tremendous impact, connecting people and building community.
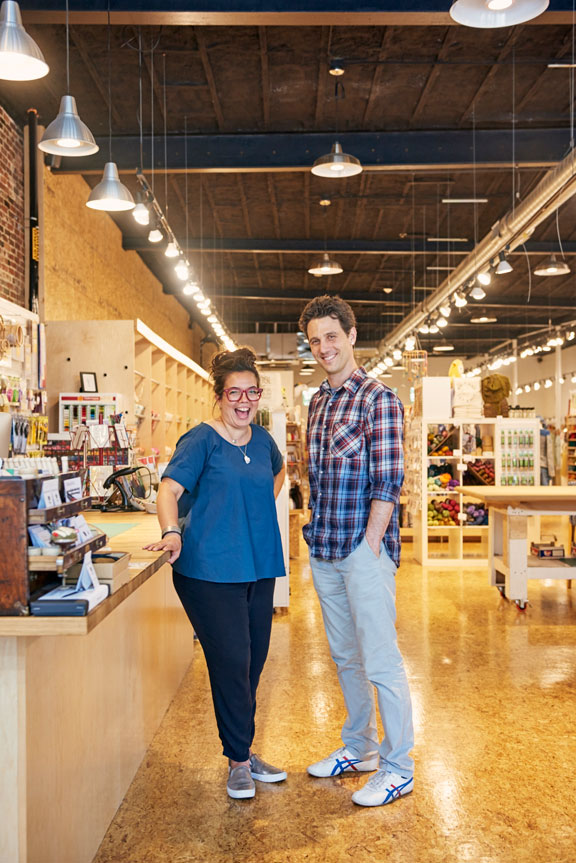
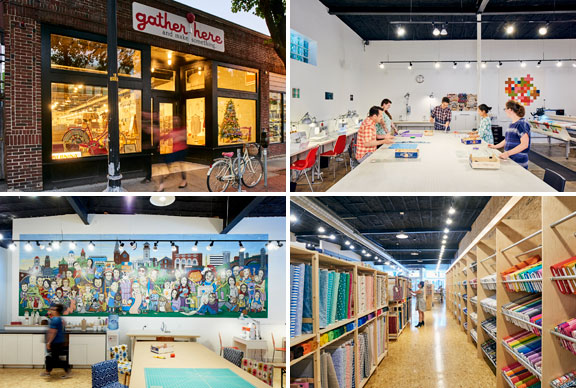
One such business that serves its community is gather here, a fabric and yarn shop in Cambridge, Massachusetts. Owners Virginia and Noah recently relocated to a new, larger space and have renewed their commitment to support meaningful issues.
A hate crime over the summer made them consider how their personal belief in equality is not just ancillary to their business, but in fact an integral part of what gather here represents. When a 12″ swastika was carved into their shop window, Virginia and Noah channeled their anger into action. They shared the incident on social media and received an outpouring of support from customers and neighbors. Virginia describes how she suddenly realized that her personal values were intrinsically connected to her business:
But in that one act of hate I realized that WHO I am, my identity is linked to WHAT gather here is. That swastika wasn’t just carved in our front window. It felt like it was carved on my body. On the body of my half-Jewish partner. WHO owns gather here is a public statement now. And acts of hatred in our community are immediately condemned. Our business has embraced making political statements because we cannot shy away from WHO we are.
Since the incident, they have raised money for victims of a local fire, collected handmade winter accessories for low-income families, supported the Southern Poverty Law Center, and now actively promote gather here as a welcoming place of inclusion with a 7′ tall cross stitch advocating hope, love, respect, equality, and community. And like many open-hearted businesses, they have posted a sign to let everyone know that people of all races, religions, countries of origin, sexual orientations, and genders are welcome in the shop.
When a member of a gather here knitting circle died unexpectedly last year, their group knit a memorial piece that hangs in the shop, reminding us that the connections we make through craft are genuine and meaningful. The places where we gather to make things can become social spaces, mourning places, and even centers of action. In this time of uncertainty, it is reassuring to see principles at work in business.