This weekend I’ll be leading a quilt workshop at the Montgomery Museum of Fine Arts in conjunction with Sewn Together: Two Centuries of Alabama Quilts. This exhibition features nineteenth and twentieth century quilts from the collections of the Alabama Department of Archives and History and the Montgomery Museum of Fine Arts presented in pairs for comparison. If you can’t make it to the exhibition, be sure to spend some time on the interactive website.
On Saturday we’ll walk through the galleries to study quilt techniques, then sit down for a hands-on sewing workshop to explore both traditional and improvisational techniques using various materials. We’ll compare the motivating factors for quilt makers during the past two centuries and discuss the relevance of quilting in today’s cultural landscape. No prior sewing experience required! Find more information here.
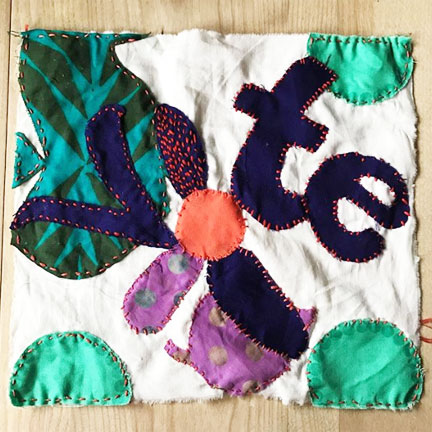
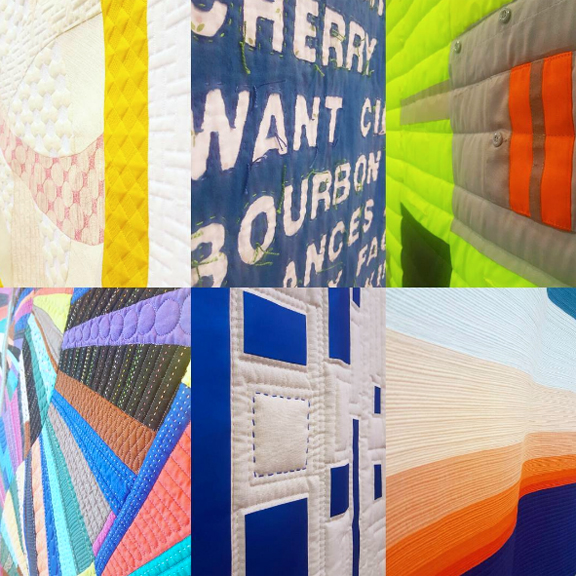
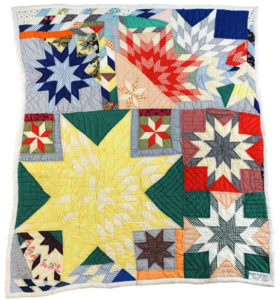
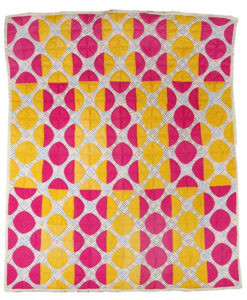
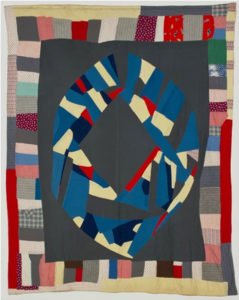
Pictured above (left to right):
Center Medallion, ca. 1930, Unknown American Maker.
Grandma’s Favorite Block, ca. 1990, Jannie Avant (American, born 1921).
Star Puzzle, 2001, Nora Ezell (American, 1919–2007).