Quick Crafty Round-Up

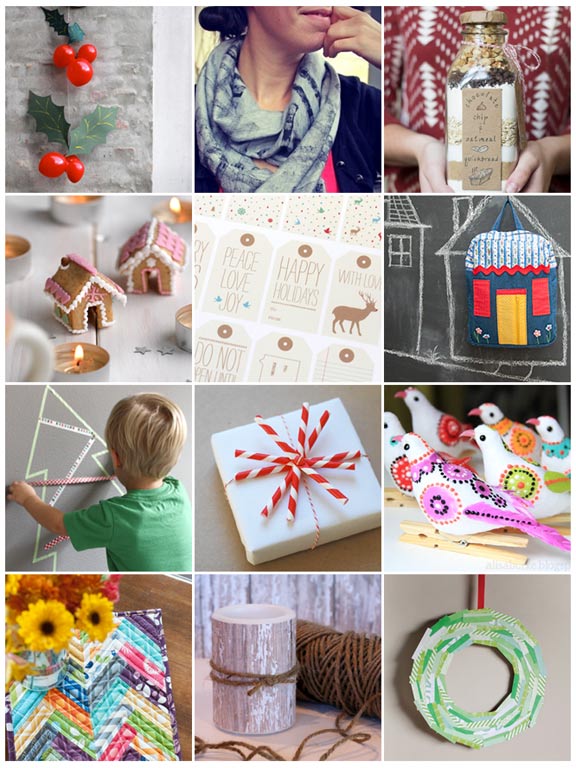
Balloon Holly Garland from hellobee.

Abstract Printed Scarf from Rhythm of the Home.

Chocolate Chip & Oatmeal Quick Bread in a Bottle from Me and My DIY.

Mini Gingerbread Houses from Cake Time.

Printable Labels and Card from Wedding Chicks.

Tiny House Backpack from Sewing Secrets.

Washi Tape Tree from Modern Parents Messy Kids.

Straw Gift Toppers from Papermash.

Pretty Painted Birds from Alisa Burke.

Herringbone Hot Pads at Moda Bake Shop.

Birch Candles from A Night Owl.

Paper Strip Wreath from Mer Mag.

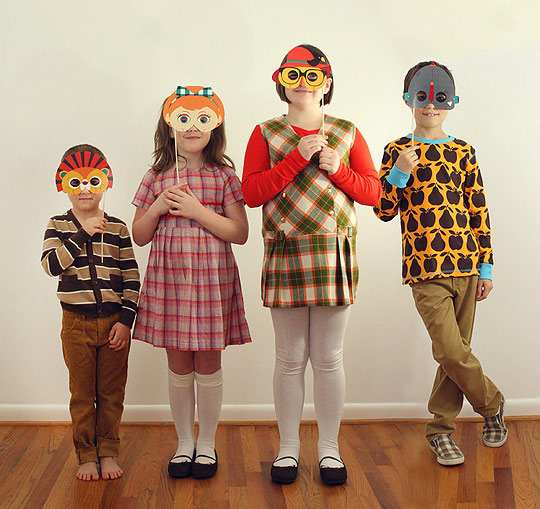
Printable Masks

Looking for a last-minute Halloween costume idea? Or pretty wall decorations for a child’s room? Photo props? Danielle of Kitschy Digitals wrote to me about her new line of printable masks. They are so cute!

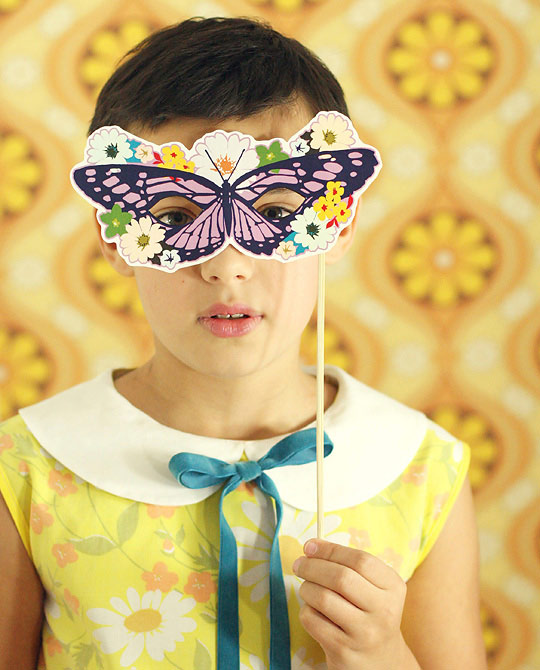
Dress up your kid as a scarecrow (flannel shirt, overalls, hay coming from arms and legs) and use the  mask from the Wizard of Oz set (designed by Chelsea Ann Redinger) or try the sweet butterfly mask below (designed by Melody Miller) and whip up a pair of these wings. Done!

I don’t know how these holidays always sneak up on me and I am in awe of you organized folks out there who make Halloween costumes in August! This year my seven-year-old is dressing as Ginny Weasley from Harry Potter and my nine-year-old is going as a recycling bin. You might be able to tell that my girls have slightly different personalities. I decided not to make any of the Harry Potter attire because it is so easily available, but we are dyeing her hair red! For my older daughter’s costume, I cut the bottom out of a recycling bin and also cut arm holes, then we’ll attach paper and cans to it. The irony of this costume is that by destroying the recycling bin, it’s not very environmentally-friendly. But we are planning ways to re-use the bin and my daughter already made a coaster from the armhole plastic piece by gluing felt to the top.

You can see my kids’ costumes from last year here and read more about my costume advice here. My favorite costume that my older daughter wore is still the Violet Beauregarde as a blueberry from Willy Wonka. Loved that one. Good luck to everyone who will have late-night Halloween sewing to do!

Tattoo Valentines

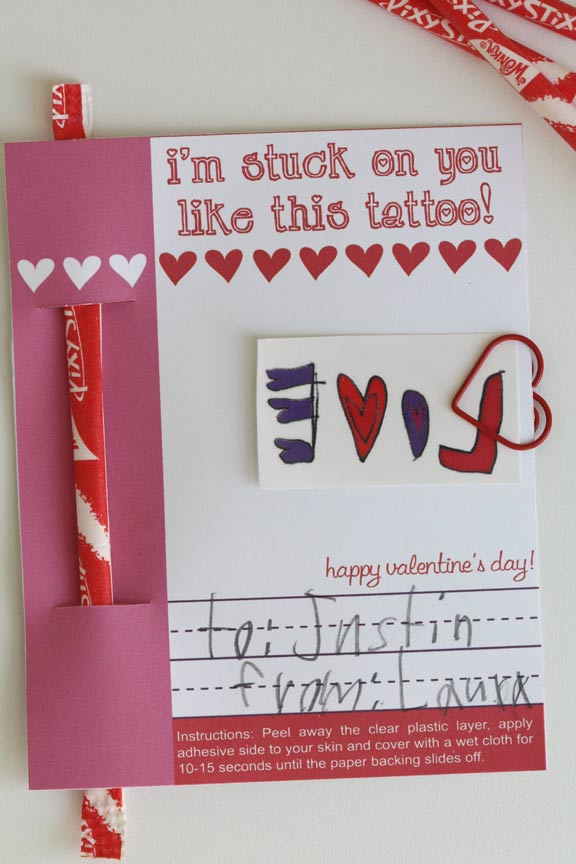
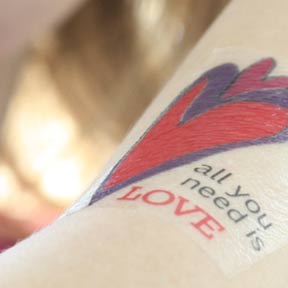
And here are the ones we made with my seven-year-old. She drew the designs for these tattoos and we printed them on tattoo paper.

I ordered this Silhouette tattoo paper after reading the reviews on amazon, but you don’t need to have any special cutter to use this paper. Just an inkjet printer. I scanned my daughter’s drawings, reversed them (important!) and printed them on the paper. Then you have to wait for it to dry (which took almost an hour) and then ever so carefully apply the adhesive paper on top, and finally rub any air bubbles out. I was nervous since I only ordered two sheets, but it turned out fine and we were able to get 40 tattoos on two sheets.

So I took her drawings and added some typed text as I wasn’t sure how legible her writing would be on a small tattoo. Then of course she wanted to attach candy to the cards, and knowing how much parents love their kids to eat a teaspoon of colored sugar, I acquiesced and bought Pixy Stix, cut some slits in the card and my daughter attached one to each card. The heart paper clips came from Paper Source and were a bit of a splurge for me. As you can see below, the quality of the tattoo is just OK, but about what you normally see with temporary tattoos.

If you’d like the printable for this one, you can download the .pdf file here.

Valentine Crackers

Today was Valentine Central at our house and the dining room table is now covered in bits of paper, ribbon, tissue paper and candy wrappers!

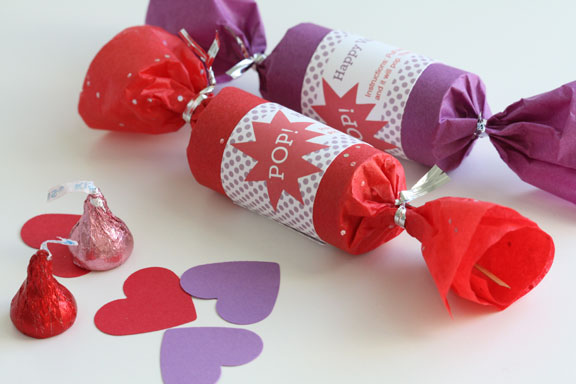
My nine-year-old and I got the idea a while back to make Valentine crackers (like Christmas crackers), and I found this tutorial over on Not Martha. Megan has also made them for Valentine’s Day now, so you can read her great tutorial for those as well. I could only find the poppers on ebay, but you may be able to find some in one of the shops that Megan recommends. They took a while to get here since they came from overseas, but they were inexpensive and since we used gift wrap tubes (which were sturdier and looked better than the toilet paper tubes that we thought of using), the project itself was reasonable.

For my daughter’s crackers, she chose to fill them with candy, cut out hearts, ribbon confetti and stickers. I cut the gift wrap tubes into 2 1/2″ segments using a craft knife and we used tissue paper for the wrapping, so it was easy for my daughter to roll them up on her own. And the twist ties that Megan used are genius and so much easier for little hands. I had these silver ones on hand, but looks like you can find some red and white striped ties here. Once I got out the supplies and made a sample to see how to put it all together, my daughter was able to make them on her own.

We’ll see how the popping crackers go over with the teachers! I am planning to give them some warning. Here’s a printable for the labels we used if you want to try these out in the future. This makes 1 1/2″ x 7″ labels, which work with gift wrap tubes, but if you are using toilet paper rolls, they will need to be a bit longer.