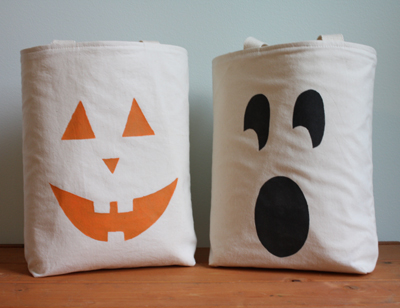
Check out my cereal box stencil project for Halloween over at Alpha Mom.

Check out my cereal box stencil project for Halloween over at Alpha Mom.

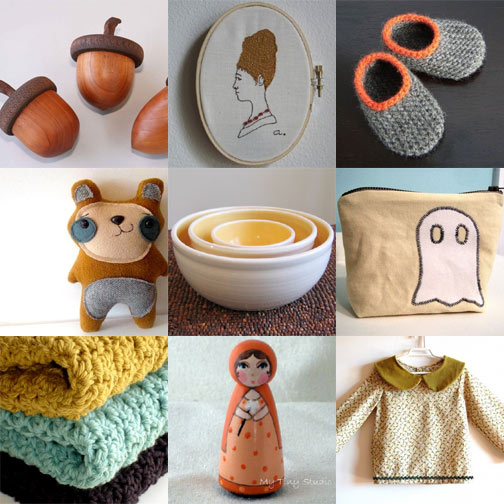
Wooden Acorn Box, $28 from Max Wood Creations.
Lucille (Beehive lady), $40 from ameliopolis.
Wool Baby Slippers, $16 from Handknit Hugs.
Earl Gray – The Smug Little Bear, $24 from Sleepy King.
Butternut Nesting Bowl Set, $45 from Karen Lorenc.
Halloween Pouch, $8 from Banana Ice Cream.
Crocheted Dish Cloths, $12 from New Moon Crochet.
Fairy Doll No. 31, $15 from my tiny studio.
Holly Berries Girl’s Shirt (size 3 years), $28 from meli-melon.

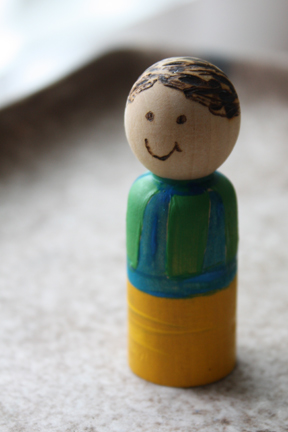
I got one of these cool wood-burning tools so made this little guy to go with a gift for a four-year-old. I did some painting on it as well, but I think it would be nice to make a set of little dolls with no color. I’ve also been thinking of making music boxes for the girls and it would be nice to burn a design on the top. This is a super easy tool to use.
Ghost Garland from Cindy Hopper for Alpha Mom.
Sashiko Pillow from The Purl Bee.
Anything Animals Knitting Pattern from Petite Purls.
Fall Leaf Newspaper Garland from Dollar Store Crafts.
Wild Things Tote from Courtney Russel for Bloesem Kids.
Fall Paper Cut Leaves from Craft, Jr.
Lunchbox Napkins from Polka Dot Cottage.
Jack O’ Lantern Hoop from Betz White.
Here’s a fun project to make with the kids. These are papier-mâché bowls made from paper bags and tissue paper. We plan to use our bowls for Halloween candy.
I’ve never had much luck with the flour mixtures (maybe because of the humidity here), so I used a mixture of equal parts white glue and water. I used a full bottle of glue for each bowl. For the pumpkin bowl, I cut off the top of an actual pumpkin and used that as our base, but we just used a metal mixing bowl for the ghost bowl. If you do use a pumpkin, be sure to cut it at the widest point so that you can remove the paper bowl when dry.
For both, I first covered the base with a plastic grocery bag (you could use plastic wrap), dipped strips of paper bags in the glue mixture, squeezed off the excess and laid the strips across the top until the bowl was covered. Oh, if you’re working with kids, you will definitely want to do this project outside. We let the bowls dry for a day, then brushed them with more glue mixture and laid tissue paper (cut into strips) on top. We then brushed more glue on top of the tissue as we laid it around the bowl. Once dry, you can trim your edges or leave them ragged. We painted our bowls with acrylic paints and left the insides unfinished. If you used colored tissue paper, you wouldn’t need to paint at all. I just used some brown tissue paper leftover from packaging. Now the kids are ready to fill up the bowls!