So you want to be a sewer? A what? Not sure what to call people who sew these days. Seamstress doesn’t usually fit. I think someone needs to invent a new term so that we can’t be confused with the stinky underground place that carries away sewage. Any suggestions?
So many people tell me that they want to learn to sew and don’t know where to begin, so I thought I’d give a few tips. I am certainly no expert as I have never taken a class and frequently come across sewing terms that I’ve never seen before. It’s important to remember that sewing is a learning process. Once you figure out the basics of your machine and learn that you can fix mistakes, it’s not such a mystery. Here are the things you’ll need to think about before you begin:
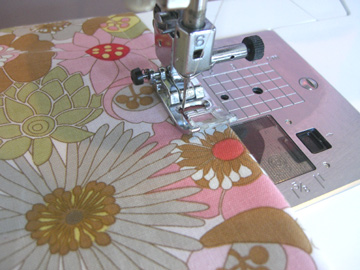
The Machine. I’d love to say that you can learn to sew on any machine, but I’m not so sure. If you already have a machine hanging around the house or someone has offered to let you borrow one, try it out and see if you like it. But if you are having problems with it, just remember that it may be the machine and not you. I really fell in love with sewing when I started using my computer-based Baby Lock sewing machine (the old Singer is gathering dust).
I’d recommend going to a sewing store to try out some machines with a budget in mind. With advances in sewing technology, the price and wide variety of choices can be overwhelming. They will let you sew with the machines and the employees generally have a lot of expertise to share. If you can, make a list of the types of things you’d like to sew and the features you might like in your machine. I don’t think that buying a used one is a bad idea (as long as it was not used for commercial purposes), but I think a warranty would be nice. If you do buy a new one, the sewing store will likely give you a free class. As far as brands go, there is a myriad of opinions. Many people who sew adore Bernina. Click here to find a store near you. I have a Baby Lock and really love it, but it was given to me, so I never went through the research process. Here‘s a good discussion about this topic.
Read the manual! I know it’s boring, but read the entire sewing machine manual from cover to cover. Really, this is the most helpful thing you can do (and this is from a person who hates to read instructions). If you have an old machine, you might be able to find the manual online.
The Sewing Place. Most people don’t have the luxury of a dedicated sewing room, so set up a plan that you can manage. If you spread everything out on the dining room table and you want to cry every time you pass through the room, then come up with a new plan. IKEA has some great storage solutions that can help you hide your machine when it’s not in use. Getting organized is helpful. I find it so frustrating to sew in a messy room (which is a frequent problem). You’ll also need a large table or floor space to cut patterns and fabric. Helpful if it’s near the sewing machine!
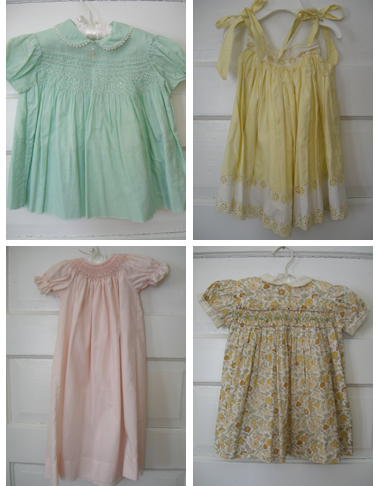
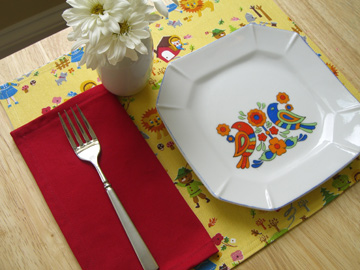
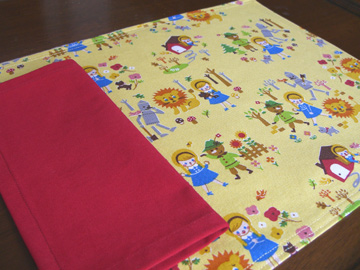
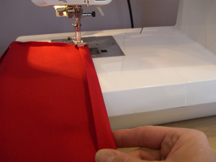
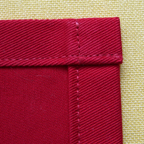
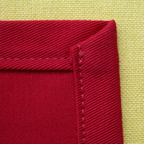
How to Begin. I sewed Halloween costumes for a few years before I really started sewing, but found that I was dreading it. Having a deadline (even if it’s months away), can be frustrating. Find something that you want to sew, but nothing that will make your world fall apart if it doesn’t get done. I love the patterns from Burda, but any pattern labeled “easy” can be a good start. I recommend something with straight seams that you can do quickly: place mats, pillow covers, simple curtains (see tomorrow’s Make it Monday project). I would wait until you’ve tried a few easy home projects before you try clothes. There will be some new terms that might scare you (um, like”sleeves” and “zipper”). When you get frustrated, just get up and walk away from the machine. It will still be there tomorrow.
Reference Materials. If you like to take classes, you could try one. But there’s so much online these days that you can usually find the answer to your question. I also recommend these books:
Bend-the-Rules Sewing: The Essential Guide to a Whole New Way to Sew A new book with basic information and some fresh ideas for simple projects.
Simplicity: Simply the Best Sewing Book This is an older book, but I like to use it as a reference.
Sewing 101: A Beginner’s Guide to Sewing A clear book with nice illustrations and photographs.
The Goods. Having the right tools for the job is pretty essential. Here are a few things that you’ll need:
- Scissors. A good pair of scissors is the best tool. You’ll need a nice sharp pair for cutting fabric (straight and pinking shears), a small sharp pair for clipping threads, and a junk pair for cutting patterns. There will be more as you learn.
- Pincushion. Magnetic or stuffed; you’ll need at least one pincushion.
- Straight pins. You’ll want the ones with glass heads.
- Tape measure and yard stick.
- Fabric pen. I use a vanishing ink fabric pen for marking fabric. Tailor’s chalk seems imprecise to me.
- Bobbins. Extra bobbins that fit your machine. Since I began with embroidery, I started using pre-wound bobbins and now can’t be bothered with winding bobbins unless I need a specific color of bobbin thread.
- Rotary cutter and mat. Most helpful for quilters, but I use mine all the time. It makes cutting much quicker. Transparent square quilter’s rulers are also helpful. Here’s a tutorial with pictures from the purl bee.
- Seam ripper. You’ll need it.
That’s all I can think of for now. I’d love to hear some other suggestions from you sewers out there!